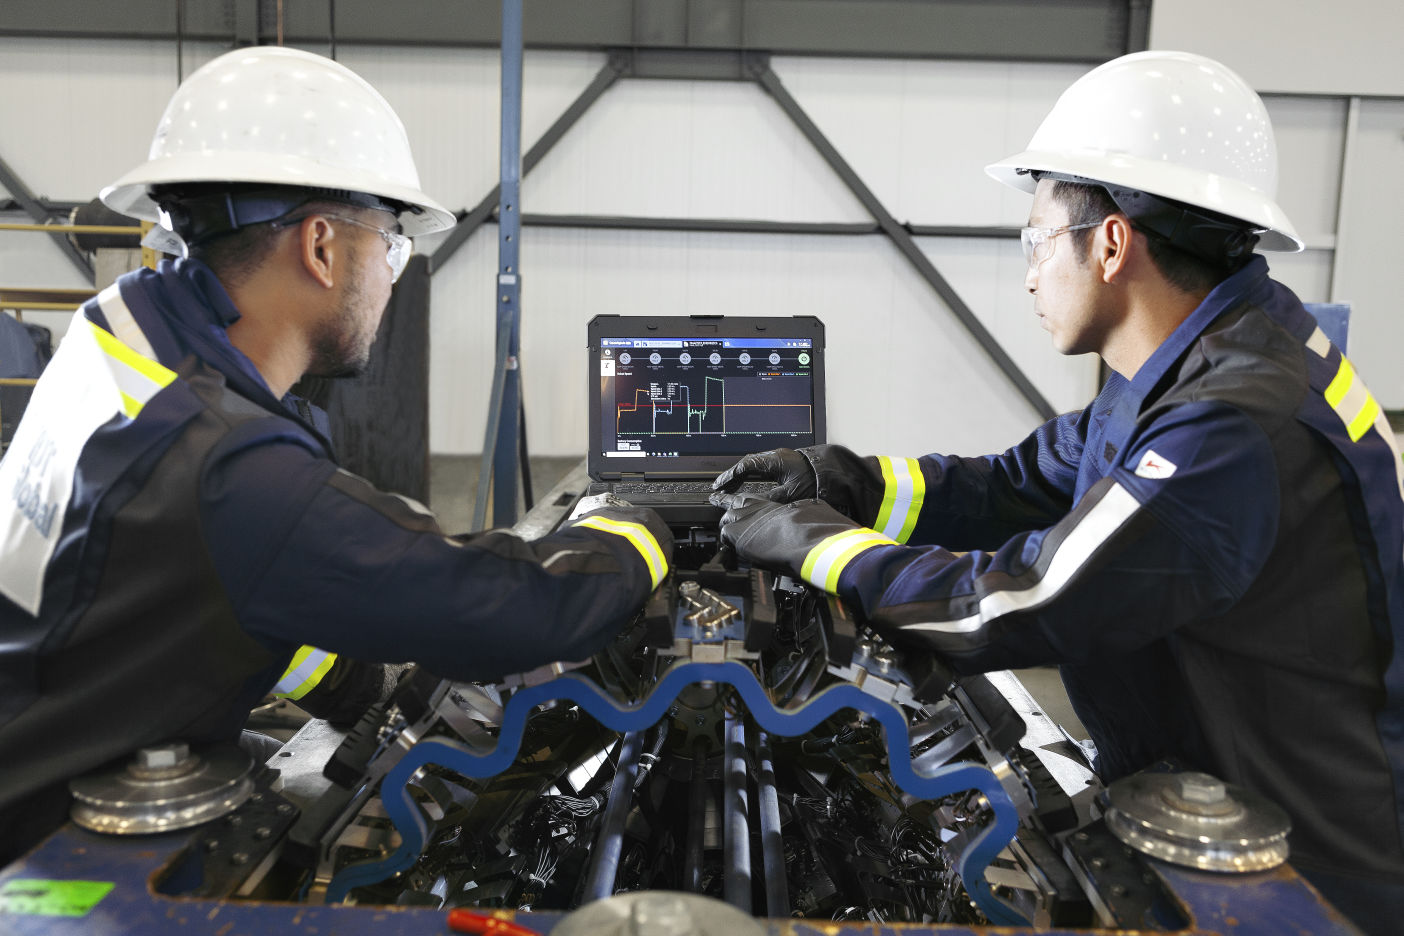
A pipeline operatorAn entity or organization responsible for the operation, management, and maintenance of a pipeline system. The operator is entrusted with ensuring the safe, rel… required the inspectionThe systematic process of visually examining, testing, or monitoring pipeline components to assess their condition, integrity, and compliance with regulatory re… of six 12" pipeline segments transporting light crude oil. They wanted to identify circumferentially oriented crack-like indications within an 814 km (506 miles) pipeline with inspectionThe systematic process of visually examining, testing, or monitoring pipeline components to assess their condition, integrity, and compliance with regulatory re… segments ranging in length from 61 km to 251 km (38 to 156 miles) each.
Previous integrityThe capability of a pipeline to perform its intended function safely and reliably throughout its life. It includes a range of factors, including the structural … digs identified circumferential crackRefers to a type of crack or fracture that occurs around the circumference of a pipeline, typically in a circular or elliptical pattern. It is a form of structu…-like indications requiring the entire system to be inspected to accurately determine the severity of these threats. The majority of the line segments consisted of grade X46 low frequencyA term used to describe radio waves within the 30 to 300 kilohertz range. ERW pipe with 4.78 mm (0.19 in) wall thickness.
CircumferentialAn event that occurs or is measured along the circumference of a pipeline. It implies the direction or orientation that is perpendicular to the longitudinal axi… cracks form at/or near circumferential welds and/or local stressThe internal forces and pressures experienced by a pipeline as a result of various factors, including internal and external loads, operating conditions, and env…/strainRefers to the stress and deformation that a pipeline experiences due to external forces, such as ground movement, soil settlement, or external loading.
When … accumulations. They are caused by soil and pipe movement which are typically the result of local earthquakes and landslides.


