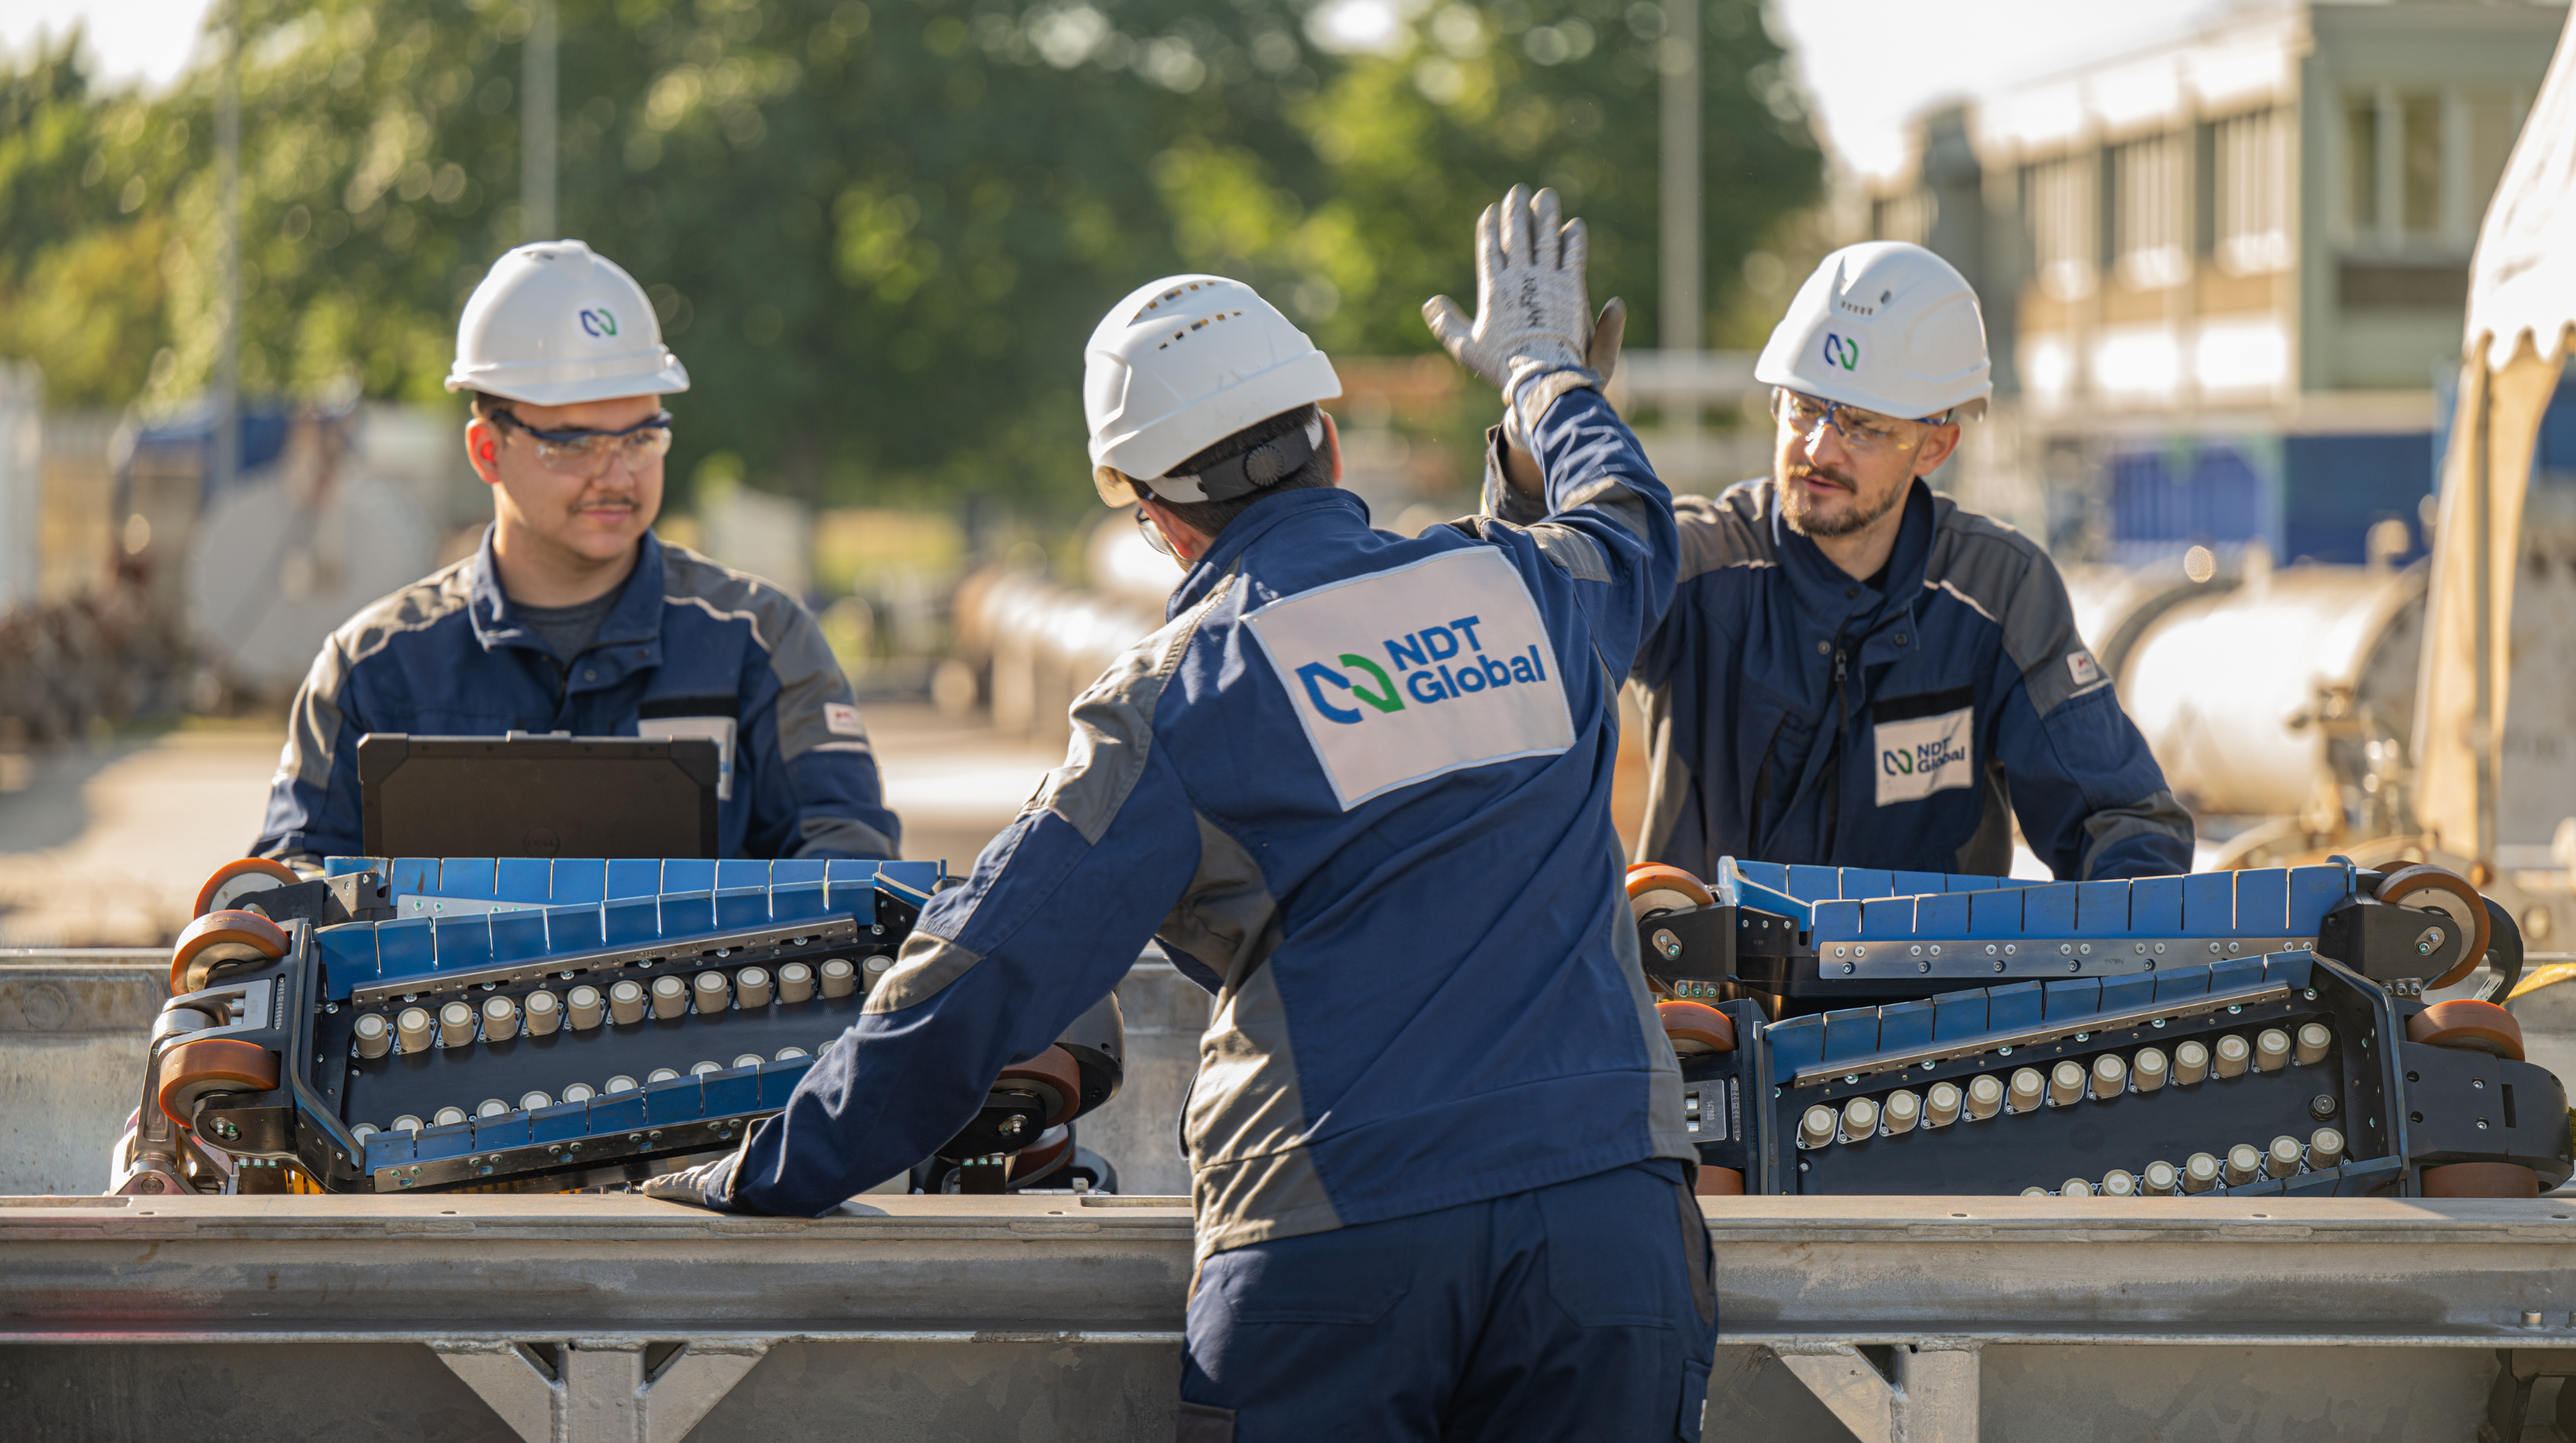
A scheduled MFL metal loss inspection of a 48" diameter offshore loop line was halted when the caliper run encountered a severe dent. This 48 km (30 mile) pipeline is a crucial asset of the operators. Due to the identification of a severe dent successful inspection had now become a difficult challenge as a new technology would be required to inspect the loop line.

Case Study
Simultaneous Crack and Metal Loss Inspection
The Challenge

The Solution
After evaluating available solutions, the operator asked NDT Global to inspect the pipeline. A combination run consisting of Evo 1.0 ultrasonic crack, Evo 1.0 ultrasonic metal loss, and ultrasonic geometry tools delivered a comprehensive inspection in a single run. These technologies accurately detect, locate, and size metal loss and axially oriented crack-like anomalies, providing high-resolution mapping and XYZ coordinates for the pipeline. In particular, the company’s innovative Enhanced Sizing for ultrasonic crack inspections removes depth sizing boundaries that previously existed for depths above 4 mm (0.16 in.).

The Results
High-accuracy inline inspection using NDT Global’s ultrasonic technologies successfully detected metal loss and crack-like features
Critical reporting threshold for cracks 1 mm (0.04 in) depth, 25 mm (0.98 in) length) was maintained
Results will guide future inspection frequency, using trend analysis, and anomaly tracking, while applying only the most stringent internationally accepted codes, standards and specifications
Data and recommendations enable the operator to prevent pipeline failures by; removing or repairing significant defects, determine the interval between future inspections with or without repair of identified defects and calculate maximum allowable operating pressure (MAOP).

View PDF Case Study

Discover the Power of Clarity™.
Whether you’re ready to schedule an inspection or have questions about our process, our team can help get you started.
Contact Us© Copyright 2026. NDT Global. All Rights Reserved.
